


The bleach that is used to dye your scalp hair can also be used on your body, especially arms hair to make it as light as your skin tone is and almost invisible. Of course, the concentration of bleaching powder and overall consistency of bleach suitable for the body is different as compared to the bleach for the scalp.
But people often find themselves asking how to bleach arm hair. How does it work? Is it effective? What are the considerations? And what can you try other than bleaching to get rid of arm hair?
If you are also one of those people, this article is for you.
Table of Contents:
- Part 1: Can You Bleach Arm Hair?
- Part 2: Preparing for Arm Hair Bleaching
- Part 3: Step-by-Step Instructions for Bleaching Arm Hair at Home
- Part 4: Timing and Bleaching Results
- Part 5: Alternatives to Arm Hair Bleaching
Part 1: Can You Bleach Arm Hair?
If you can bleach your facial hair and intimate areas with specific techniques, you can bleach your arm hair as well. Although bleach contains chemicals, its formula is prepared in a way that is safe for the skin when used at a moderate frequency. Also, using a high-quality bleach brand is the key to safe bleaching at home.
However, there is more to this answer as bleaching might not be the best choice for everyone. First of all, you need to understand that bleaching works on the pigment by lightening it which means it could also lighten the treated skin area leaving patches of uneven skin tone.
Additionally, if you have a dark skin tone, light hair will be more visible on the background of dark skin making bleach an inappropriate method to get rid of the hair. Lastly, bleach should not be used on dry or irritated skin as it can aggravate the condition and delay healing.
So, we suggest you consider these factors before trying bleach on your arm hair.
Part 2: Preparing for Arm Hair Bleaching

Choose the Right Products
The most important step to effective bleaching with minimal side effects is choosing the right product. But what is the right product? When it comes to bleaches, they are formulated differently for the face, arm, and scalp.
Therefore, buy a product that works for the body. After that, see if it is compatible with normal or sensitive skin. The bleach for sensitive skin is often more gentle. So, if your skin reacts to chemicals quickly, this one’s for you.
Follow the Instructions
Although the process of bleaching is almost the same no matter which brand you use, there are some specific instructions for a particular brand. These include quantities of the powder and cream that should be mixed and the duration for which you should keep the mixture on your skin.
Therefore, always read the instructions and follow them accurately.
Never Skip Patch Test
Before bleaching your whole arm, it is essential to do a patch test 1 day earlier. The patch test will show how the bleach worked on your hair, if it caused any rashes, irritation, or burns, or showed sensitivity.
You would not want both of your arms to be red and swollen after using the wrong product, right? Thus, a patch test to bleach arm hair or any part of the body is a must.
Part 3: Step-by-Step Instructions for How to Bleach Arm Hair at Home
Once you are sure that the bleach is compatible with your skin, here are the steps to get right into bleaching your arm hair.
Step 1: Gather Your Supplies

Most importantly, you need an arm hair bleach kit. This kit has all you need including cream, activator, spatula, and bowel. In addition to that, you should also get a timer, aftercare lotion, and maybe petroleum jelly.
After gathering the supplies, wash your arms with a gentle cleanser and cold water and ensure that they are fully dry before applying bleach.
Step 2: Mix the Cream with Powder
The cream and powder should be used in 2:1. So, grab the bowl or tray present in the bleach kit, and take about half a teaspoon of cream and one-quarter of the powder. Also, always use a plastic bowl and spatula for this purpose.
Mix both uniformly to make a paste of even consistency.
Step 3: Apply it Evenly

Then, scoop out the bleaching mixture with a spatula and apply it evenly on your arm in a way that the full arm is covered.
Step 4: Wait

Wait for 10 to 15 minutes or as directed on the instructions. It might feel a little uncomfortable as the chemicals in the bleach work. Bear with it. But if you feel burning or irritated, wash it off with cold water quickly.
Step 5: Remove the Bleach

Remove the bleach from a small area with the spatula and if the results are up to your expectation, remove the bleach from the whole arm. And if they are not, wait for a few more minutes.
Step 6: Aftercare

Part 4: Timing and Bleaching Results
The recommended timing for each brand, density of hair, and color of hair are different. On average, 10 to 15 minutes will suffice for most people. However, if you have thin and brownish hair, only keep the bleach for 5 to 10 minutes and check out if it worked.
If your hair is thick, coarse, and dark, then keeping bleach for up to 20 minutes is enough. In any case, never extend the time for around 30 minutes.
Moreover, it is better to bleach at night so that the morning and noon sun rays do not damage the newly treated skin.
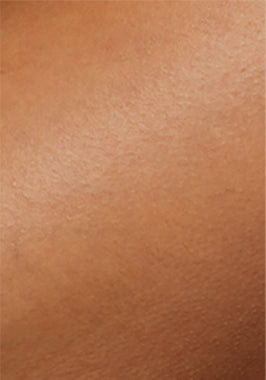
Bleach Arm Hair Before and After
One important thing to keep in mind while bleaching is that it will only lighten the hair, not remove it. Therefore, you will be able to see peach-fuzz-like hair as you look at it attentively or some golden strands flashing in the direct sunlight.
The before and after of bleaching arm hair is shown in the image above.
Part 5: Alternatives to Arm Hair Bleaching
Learn about personalized hair removal here. Furthermore, if the process or results of bleaching do not seem as you expected, here are some other options for you.
Shaving:

Waxing:

Waxing works better for women who do not like the patchy hair growing after bleaching as it removes the hair from the roots. It does not cause burns as well. However, beware of the pain and little bumps that wax might give you.
Depilatory Creams:
Depilatory creams and bleach creams are the same in the sense that both contain chemicals. However, their mode of action makes them different. Hair removal cream removes the hair from the skin while bleach will only hide it.
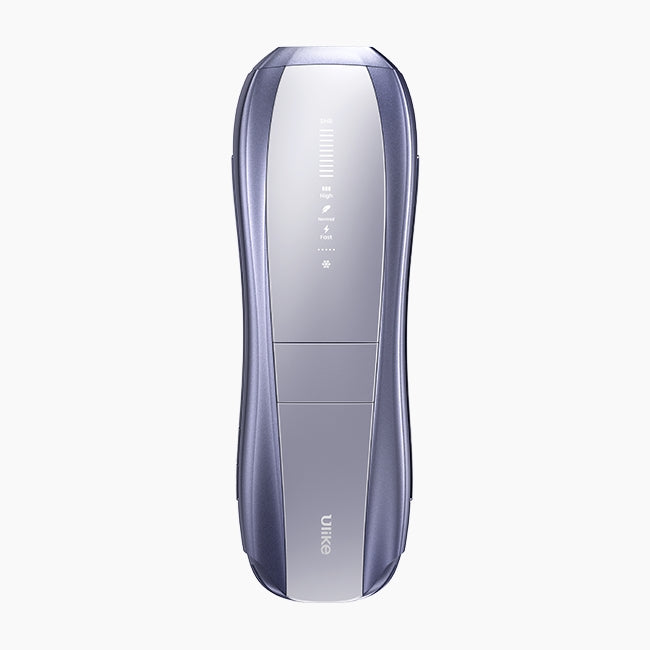
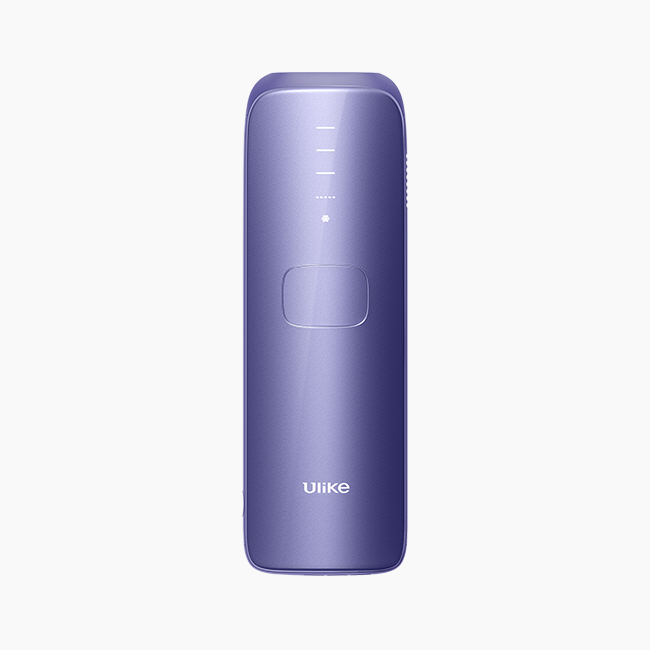
IPL Hair Removal:

Therefore, we recommend you try the Ulike Sapphire Air3 IPL handset if you are sick of using other hair removal methods.
Conclusion
Bleaching the arm hair might not be too common but it is there. Women often start their arm hair grooming journey with bleaching. However, it is not the safest option out there as it can irritate the skin and damage it in the long run.
So, always do a patch test, only use bleach in the recommended frequency and duration, and try some other hair removal methods meanwhile to find the method that suits you best.