


If you’ve recently purchased the Ulike Air 10 IPL Hair Removal Device, you're in for quite a treat(ment)! This powerful device is the next generation in Ulike’s Air Series and offers an efficient, nearly painless way to remove unwanted hair at home. But to get the best results, it's important to understand exactly how to use it.
In this guide, we’ll walk you through each step of using the Ulike Air 10, from unboxing to post-treatment care. Plus, we'll cover key features like the different treatment modes, how to adjust them for your specific needs, and tips for using the device effectively.
Unboxing the Ulike Air 10
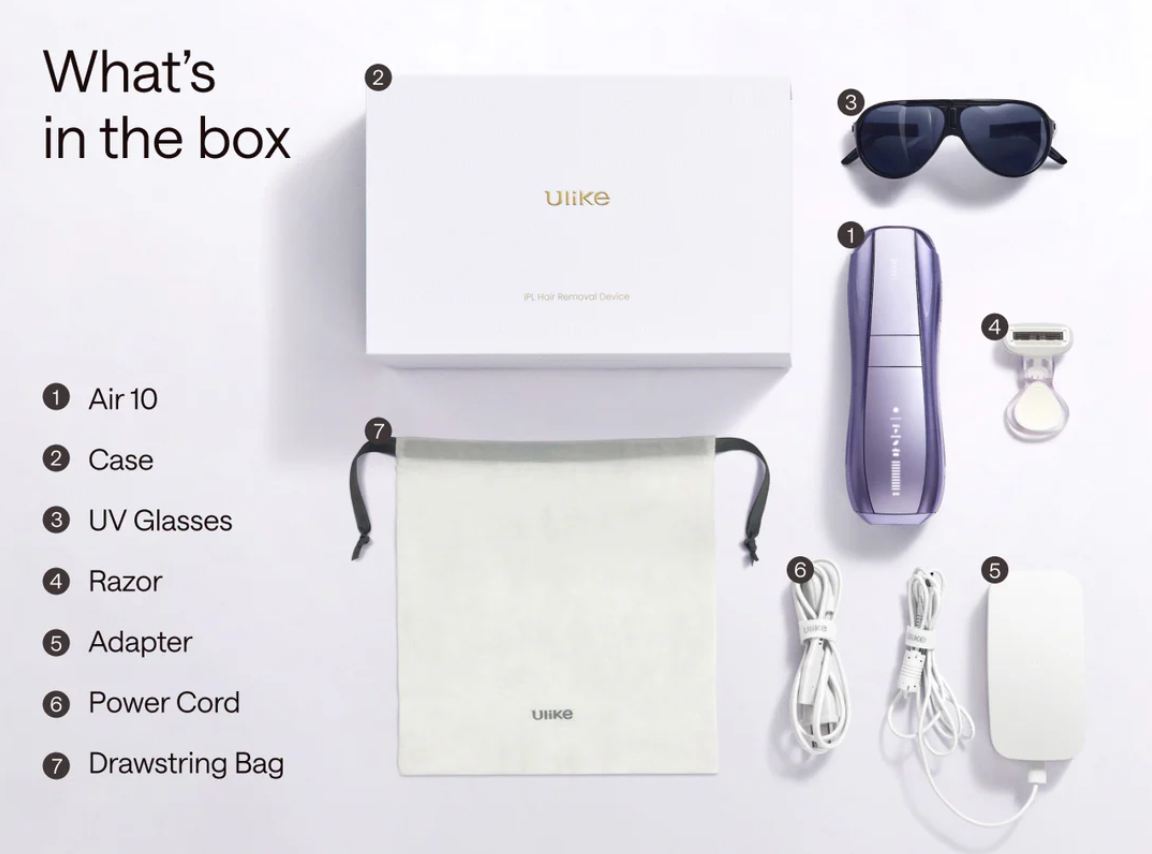
Before diving into the user instructions, let's take a look at what’s included in the Ulike Air 10 packaging:
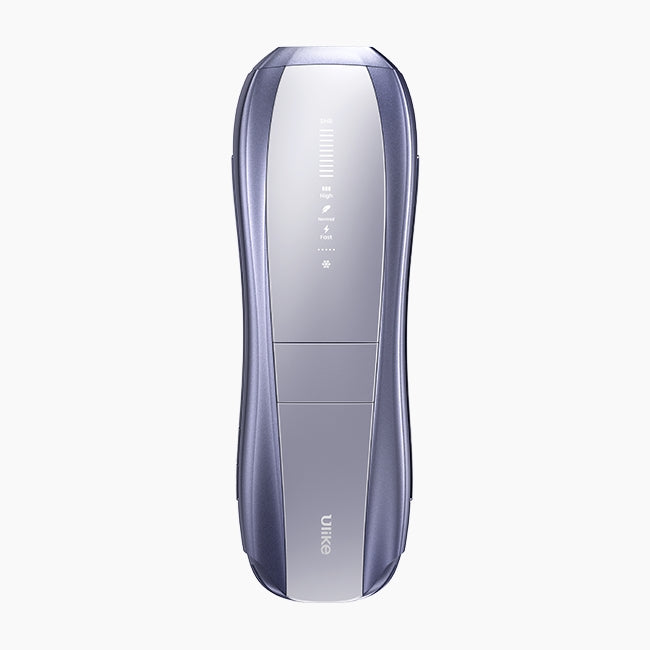
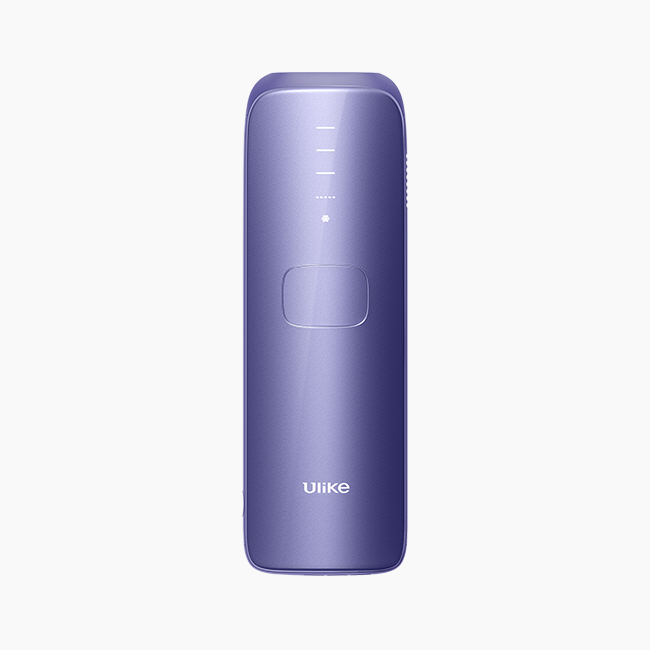
- Ulike Air 10 Device – The main item in the box, designed with ergonomics in mind for a comfortable, easy grip. It’s built to be user-friendly, even for beginners, and comes in royal purple and precious pink.
- Power Adapter and Cord – The device needs to be plugged in to work, so Ulike includes a power adapter and cord to get you started without any extra purchases.
- Protective Eyeglasses – Safety first! These eyeglasses protect your eyes from the intense light pulses during treatment, especially when using the device on your face.
- Mini-Razor – To ensure the light is absorbed by the hair follicles, you’ll need to shave the treatment area before use. The included razor ensures you have the right tool for the job.
Now that you know what’s inside the box, let’s go over how to use the Ulike Air 10 to get optimal results.
Understanding the Ulike Air 10 IPL Handset
The Ulike Air 10 offers several functions that can be adjusted based on your skin and hair type. Here’s an overview of the different settings:
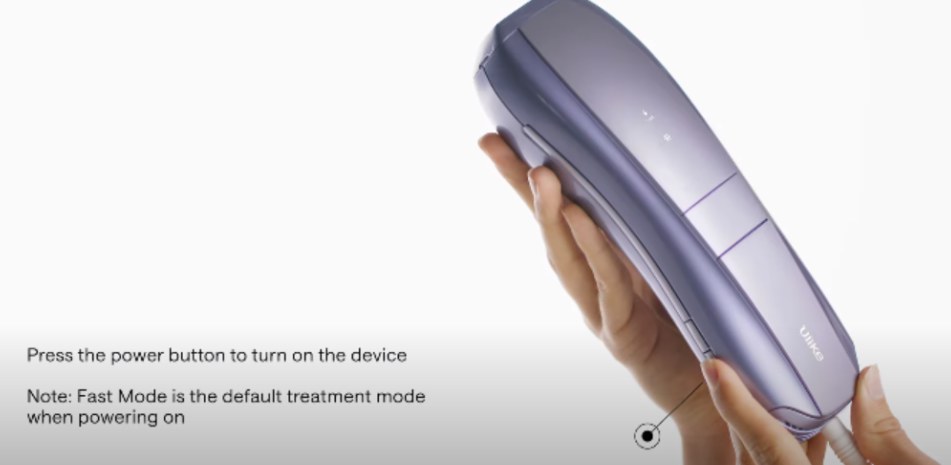
- Power Button: Press to turn the device on/off. The default setting is Fast Mode.
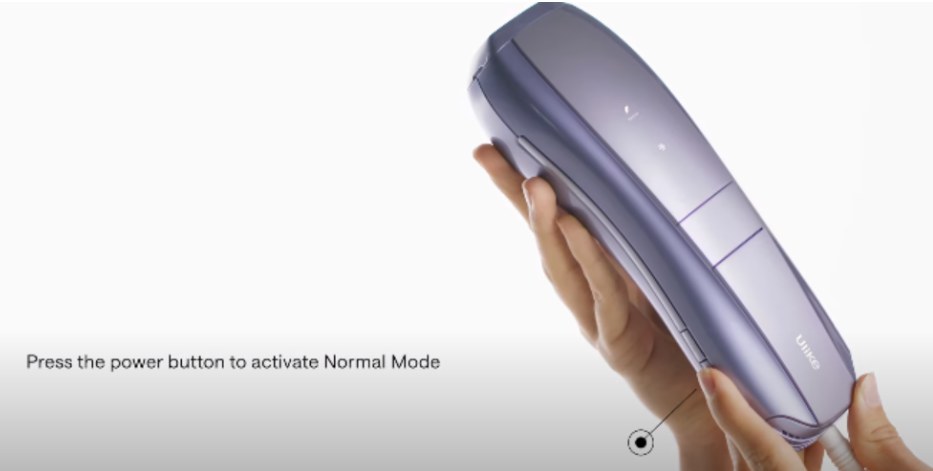
- Normal Mode: Press the power button again to switch to Normal Mode, ideal for finer or lighter hair.
- High Mode: If you have thicker, coarser hair, press the power button again to enter High Mode for more intense pulses.
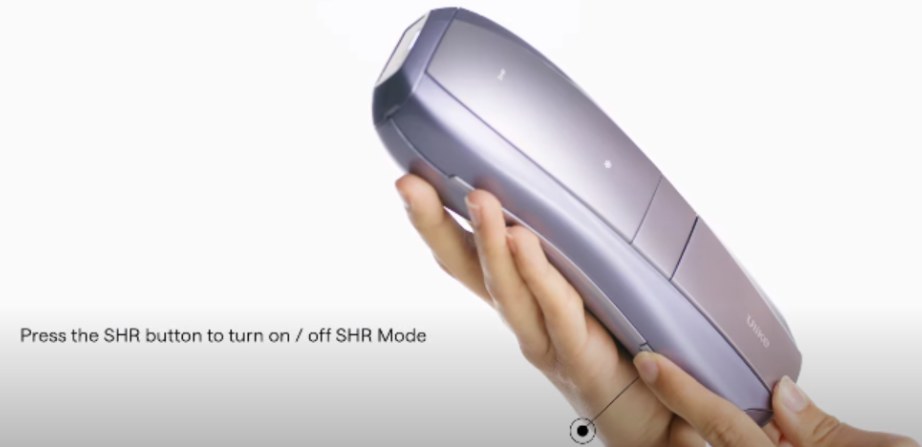
- SHR Mode: Press SHR to activate this setting. It delivers four high-energy pulses for stubborn hair, perfect for larger or more resistant areas.
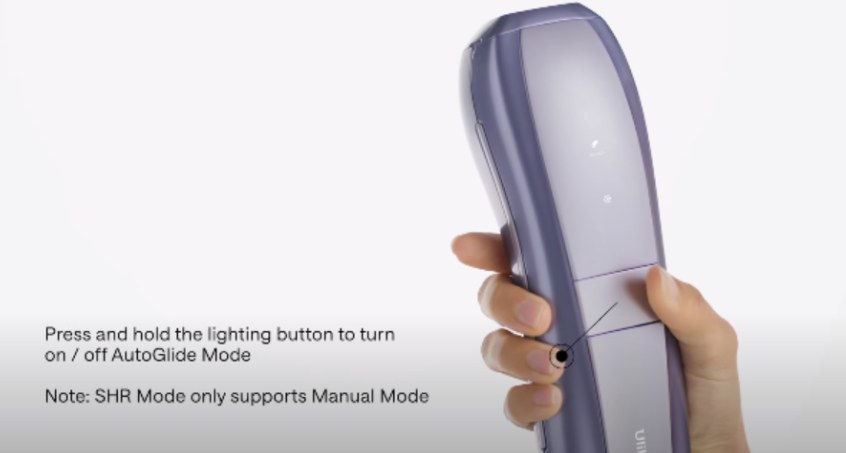
- AutoGlide Mode: Long press the flash button to activate. Use this for large areas of the body like your legs. It automatically flashes while gliding over your skin for a smoother, faster treatment process. Long press again to return to Manual Mode.
The SkinSensor feature ensures the device automatically adjusts its intensity based on your skin tone to avoid burns.
Step-by-Step Guide: How to Use Ulike Air 10 IPL Hair Removal Device
Now that you understand the features of the device, let’s walk through the steps for using the Ulike Air 10.
Step 1: Read the Ulike Air 10 Manual
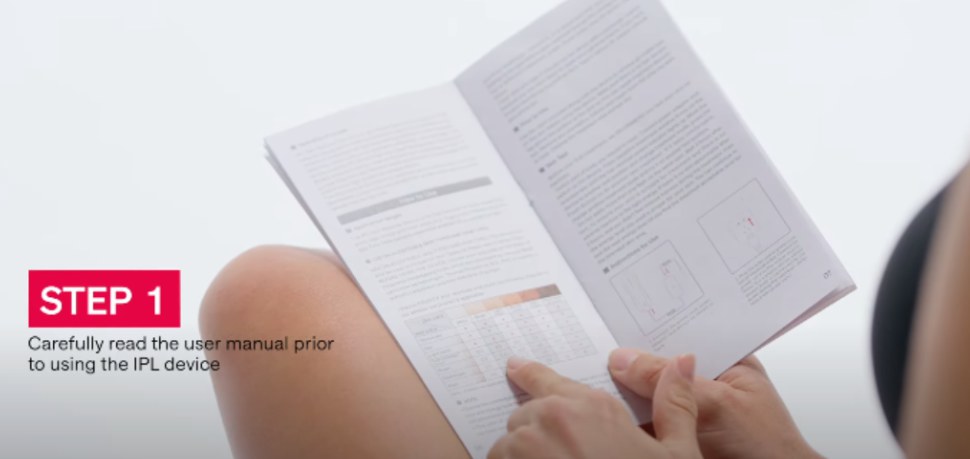
Before using the device, it’s crucial to read the Ulike Air 10 manual PDF; a version comes with the device. This provides essential details about your skin type, the device’s features, and safety precautions.
Step 2: Shave the Area You Want to Treat
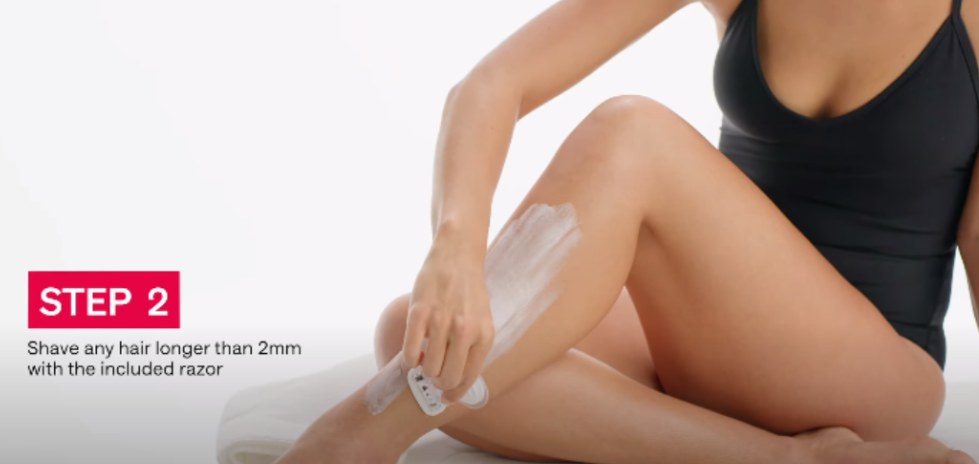
Shaving before using the Ulike Air 10 helps the light energy target the hair follicles directly. Use the included mini-razor to ensure the hair is no longer than 2mm. Shaving also reduces the risk of feeling a burning sensation, as longer hair can absorb too much light energy. Once you’ve shaved, make sure the area is clean and dry before proceeding.
Step 3: Connect the Ulike Air 10 to a Power Source
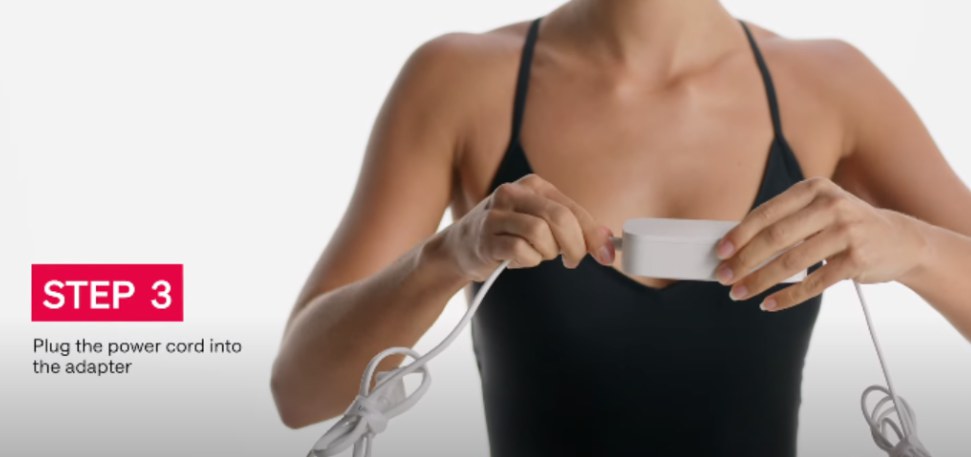
The Ulike Air 10 is electric, so plug the power cord into the included adapter and connect it to a power outlet. Make sure the device is securely connected before turning it on.
Step 4: Connect the Adapter to the Ulike Air 10
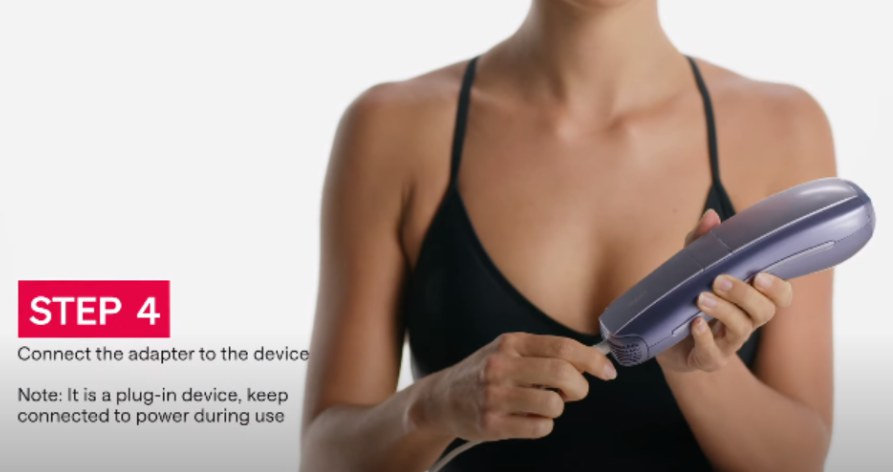
After connecting the power code to the adapter, plug the power adapter into the power socket then connect it with Ulike Air 10. Keep the device connected to a power source when using it.
Step 5: Turn On the Device
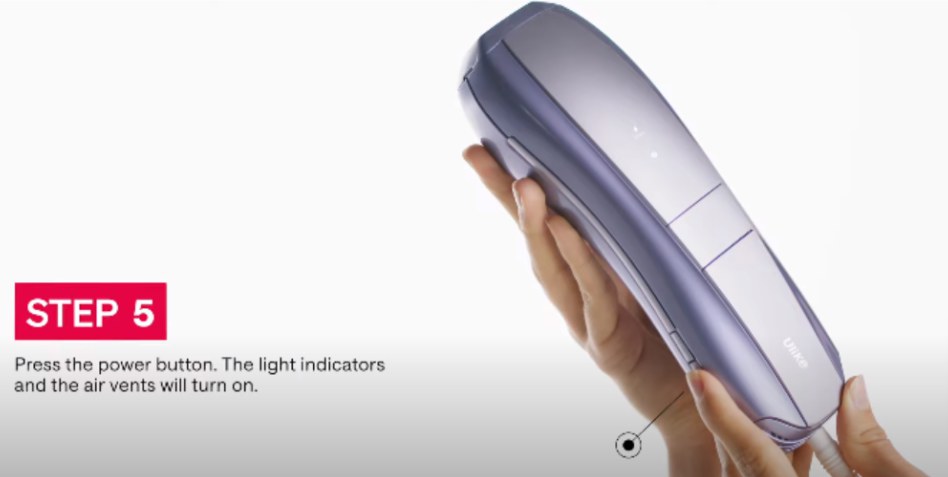
To power on the Ulike Air 10, press and hold the power button for about 2 seconds. Once the device is on, you’ll see the light indicators and the air vents will start functioning, signaling that the device is ready to go.
Step 6: Check the Device’s Functionality
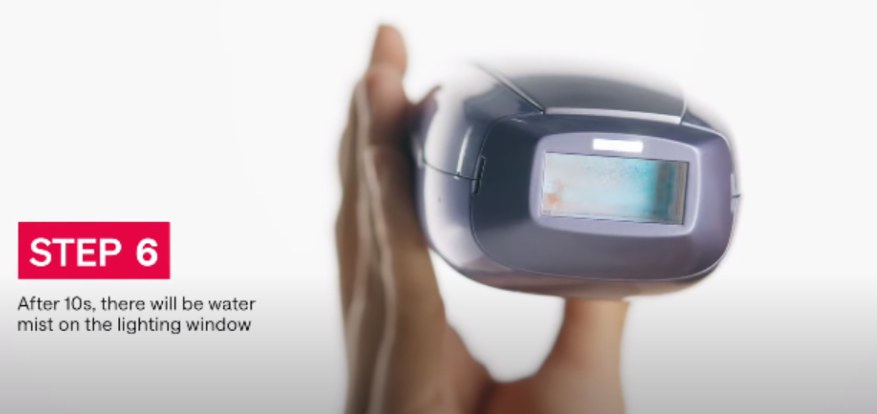
After turning the device on, check that the light indicators are working properly. You should see a faint mist from the air vents, indicating that the device is ready to emit light pulses.
Step 7: Wear Protective Goggles
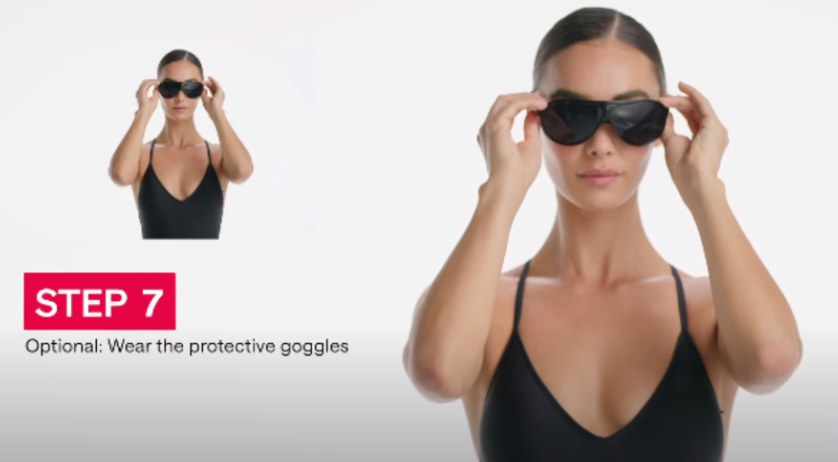
Always wear the protective eyewear included in the box to safeguard your eyes from the bright light pulses, especially when treating areas like your face. The Ulike Air 10 uses intense light, and while it’s safe for your skin, it’s essential to protect your eyes.
Step 8: Perform a Patch Test
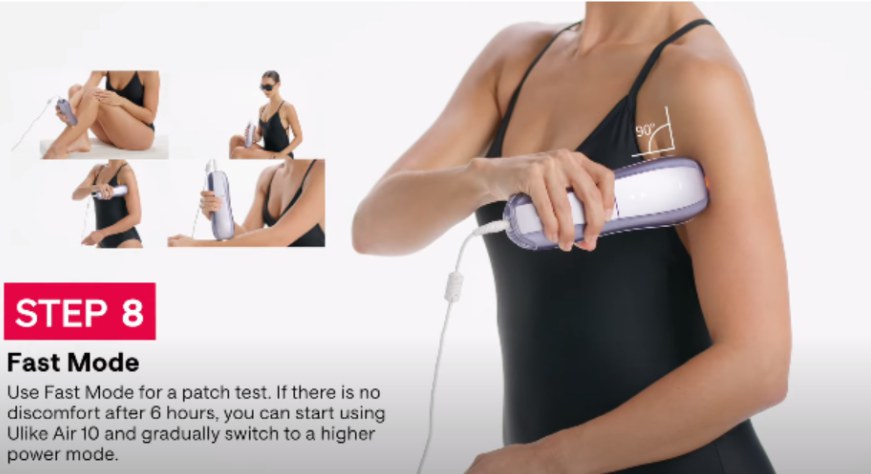
Before starting your treatment, do a patch test on a small area of your skin. This ensures that the device is safe for your skin type and won’t cause any irritation. Use Fast Mode for your patch test to start with a lower intensity. Be sure to press the contact window flush against your skin when flashing. If you don’t experience any adverse reactions after 6 hours, you can start your first session.
Select the Mode Based on Your Hair and Skin Type
After the patch test, choose the appropriate treatment mode for your hair and skin:
- Normal Mode: Ideal for fine to medium hair. This mode delivers single pulses of light energy.
- High Mode: Best for thicker, coarser hair. It produces higher energy pulses for more effective hair removal.
- SHR Mode: For stubborn hair, this mode delivers multiple pulses in a row for maximum effectiveness.
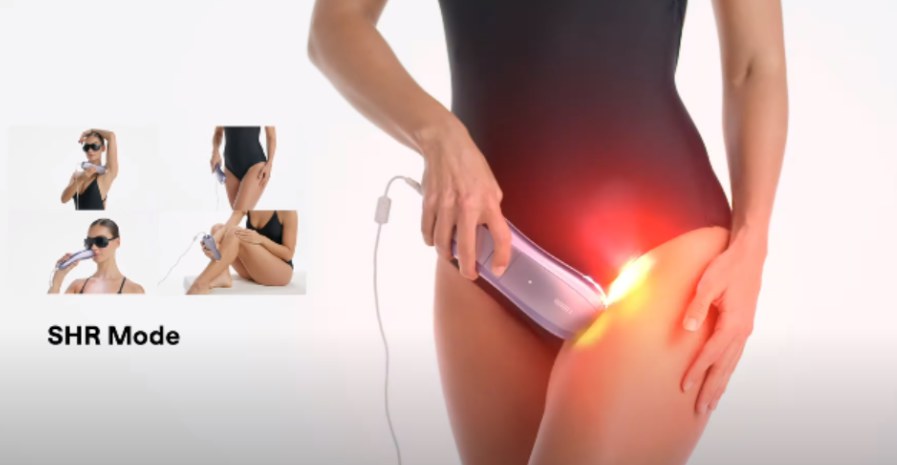
The SHR Mode is highly powerful as it produces four energy pulses with each flash. This mode eliminates all the stubborn hair on your body.
Step 9: Turn Off the Device After Use
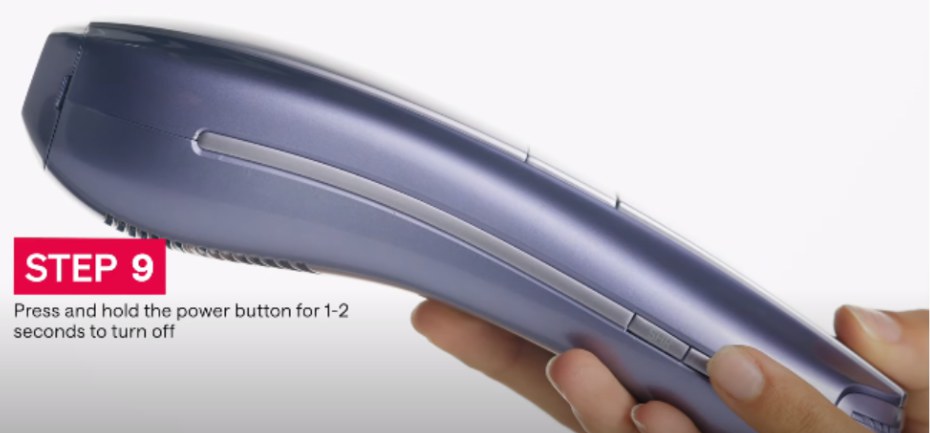
Once you’re finished with your treatment, hold the power button for 1–2 seconds to turn off the device.
Step 10: Clean the Device
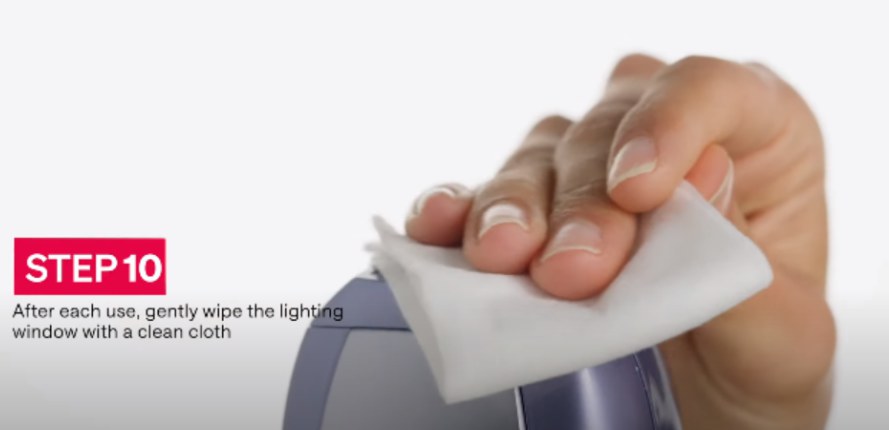
After every use, make sure to clean the light window of the Ulike Air 10 to maintain its effectiveness. Use a clean, dry cloth to wipe away any residue or dirt. Keeping the device clean ensures that it continues to perform well and last longer.
Post-Treatment Care
After using the Ulike Air 10 IPL device, it's a good idea to hydrate the treated area. For the first 4 weeks, use the device 3 times a week for the best results. From the 5th week onward, reduce the frequency to once or twice a month for maintenance treatments.
Conclusion
The Ulike Air 10 IPL Hair Removal Device offers an efficient, virtually painless way to remove unwanted hair at home. With proper use, you can enjoy long-lasting results without the side effects that come with other methods like waxing or shaving. By following the steps outlined above, including reading the user manual, performing a patch test, and selecting the right treatment mode, you’ll achieve the best possible results.
To maximize your results, follow the recommended usage schedule and make sure to care for your skin after each treatment. The Ulike Air 10 is a safe, effective device that’s easy to use and delivers lasting hair removal results.
For more information or a detailed guide, check the Ulike Air 10 manual PDF for tips and troubleshooting.